2011年2月14日月曜日

20110213 またも三浦~鎌倉。。。(^_^;

寒いですね。雪まで降って。。。
っが、今年は走りたい病。。。Hyper君のModifyも
急激に進んだので。。。土曜日も雨止みを
待って、出てしまいました。。。ほんの、20km位ですが。。。
寒かった。。。(^_^;

っで、日曜日、momoさんと、天気が良ければちょっと
走りましょうか。。。なんて話で。。。晴れました。


待ち合わせは、観音崎。
向かう途中、高台から富士山を撮っていると
E氏+M900登場。。。”どこ行くんさ?”、”宛無し”。。。
っということで、合流。


観音崎に着くと。。。mmoさんは、未着の様子。。。
moto Italyさんの軍艦島の写真の二番煎じ。。。っで、撮ってみました。
この日は、D80 + Nikkor Micro 60mm。

っで、今日、試験をしたいThermo-Valve。

先に走った感じをお伝えしますと。。。
Oilの温度が低いとOil Coolerを通らずにEng,内をOilが
循環するため、直ぐに暖気後の軽やかな回転になります。

日中気温が上がって来てからは、Oil Cooler出口温度が
60deg.C程度を表示しました。Valveが全開にはならないため、
Oil Cooler側の温度は適温よりは低いですが、Eng.側には
それなりの温度のOilが循環されていると思われます。
冷えているときのガラガラ(?)した回転の感じはしません。

Touringの話に戻して。。。momoさん登場。


E氏のM900。当時のMonserは、Oil Coolerを通さずにOilを
Engineに循環させるための切り替えバルブが標準装備なのです。
ちなみにE氏は、使ったことがないらしい。。。(-_-;


しばし、歓談の後、出発。


つい最近、回ったばかりなので、この日は、ちょっと変わったルートを。。。
路地とか畑の中とか。。。(^_^;


東京湾側から丘に上がると相模湾越しに富士山が見えます。真っ白。


畑の真ん中で。。。


はい。E君、調子に乗ってます。(^_^)


三浦海岸のドトールさんで休憩 + Gas Charge。。。 抹茶ラテ、暖かくて美味。


これまた、三崎の丘の上。
旧道を上がると風車の宮川公園越しに大島が大きく見えました。


丘を下って、三崎港方面へ。
E君に先導を交代してもらい、たまには、後ろから撮影。


今回は、鎌倉で御飯。。。ということで、三崎港には立ち寄らず、通過。
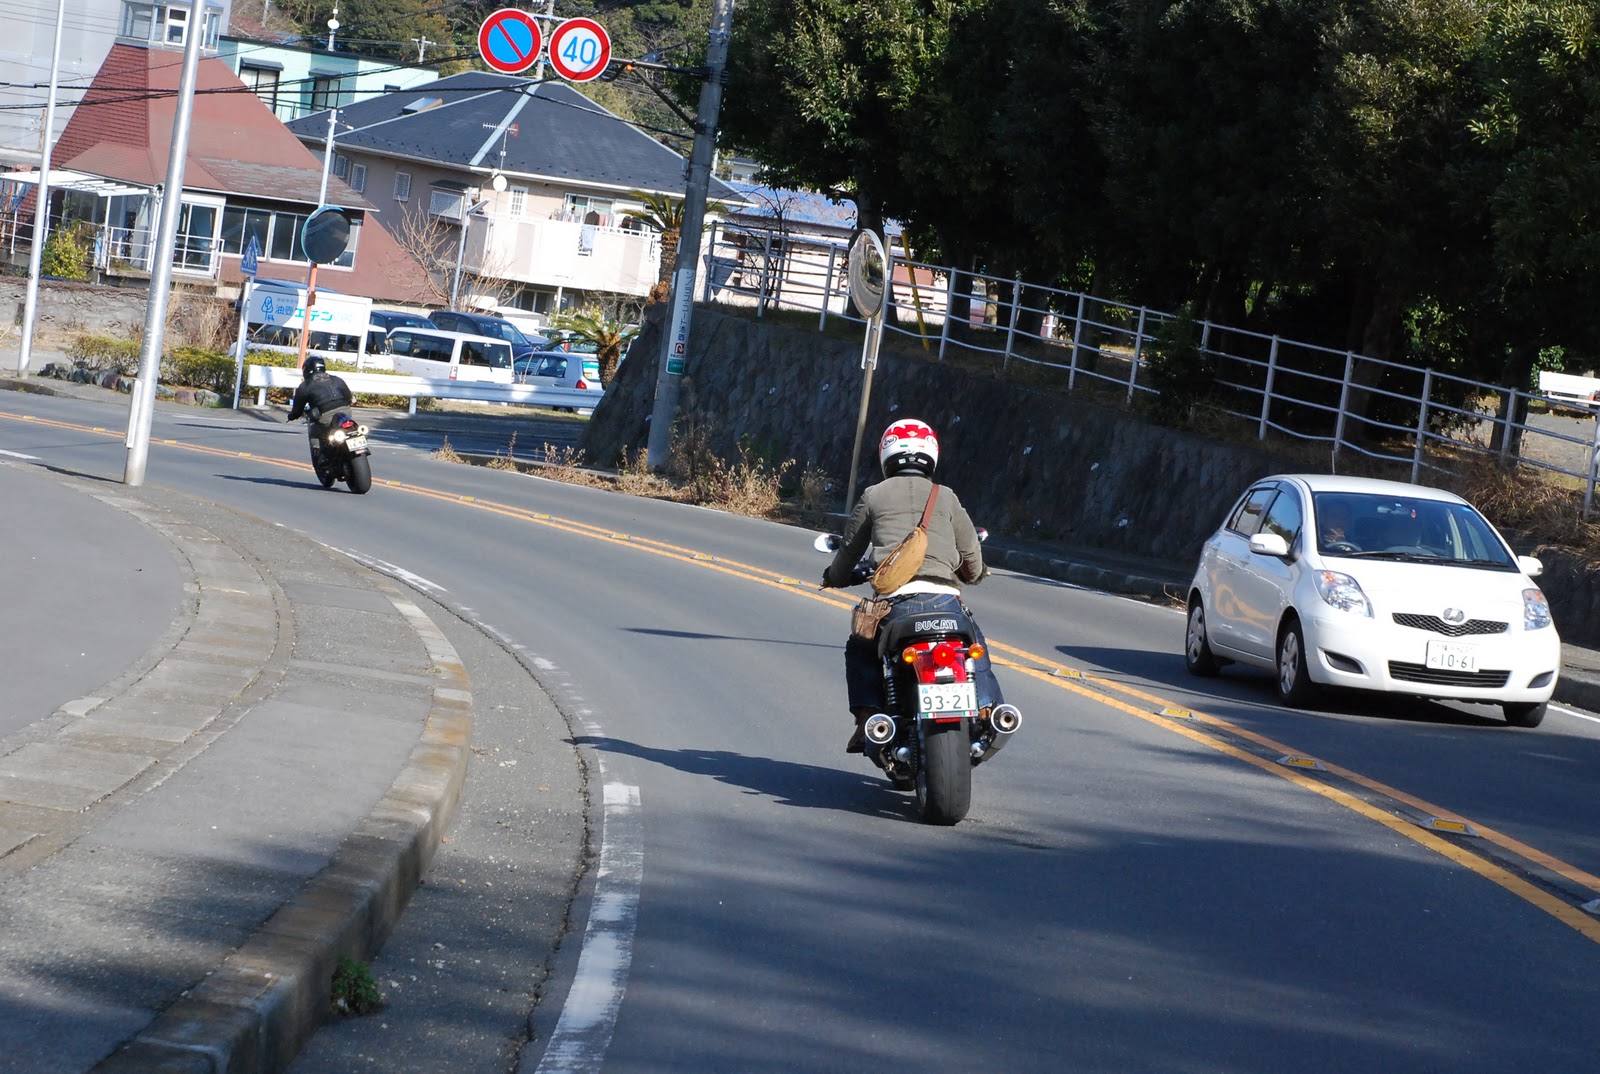

初声~和田長浜から更に路地を抜けて、ソレイユの丘から長井側へ。


ちょっと、カッコつけて撮ってみましたが、背景は畑。。。(^_^;


今日もDUCATI Touring。
E君の”もんすたー、うるさぁ~い”。


この日は、佐島も端折って、長者ヶ先。。。僕のトイレ休憩。


鎌倉のお目当てのお店に到着。
と言っても、冬休み中。。。代わりに、三軒茶屋のFrizzaのお店が
代理営業中。。。普段のMenuとは違った味が楽しみです。


とりあえず、MenuをOrderしておいてから。。。お店の直ぐ裏手にある
革細工屋さんに。。。店主さんと最近、お知り合いになりまして。。。
鹿革とビーズで素敵な小物を制作されております。
momoさんとEくんに御紹介。


気まぐれで付けてきたMicroレンズが役に立つ。。。(^_^;


お店に戻り、お昼御飯スタート!
まずは、ミネストローネ。。。野菜は、鎌倉野菜。味が濃いです。


次にサラダ。辛子菜がアクセント!好みでした。(^_^;
ホントは付いている豆料理は、大好評につき、売り切れ。。。残念。


Frizzaは6種類から2種を、選択。
E氏は、クワトロとソーセージ、momoさんは、クワトロとスパイシー、
っで、僕は、レギュラーとカルボナーラ。
このほかにショコラというのがあるそうです。


ピザ生地で具をくるみ。。。揚げてあるのかな。。。熱々で美味!!!!!
レギュラーは、さわやかな風味のトマトとモッツァレラチーズ。美味しい~!!!
他の味も近いうちに試さなくては。。。

シェフ曰く、時間をおいて、冷めたのを暖めて食べても、具の味が
生地にしみこみ、また、違った美味しさが楽しめるのだと。。。
そぉ。。。お持ち帰りのお客様も結構、来られてました。


っで、デザート。。。ジェラート+木イチゴソース。
ソースも3種から選べるのですが。。。3人とも木イチゴでした。
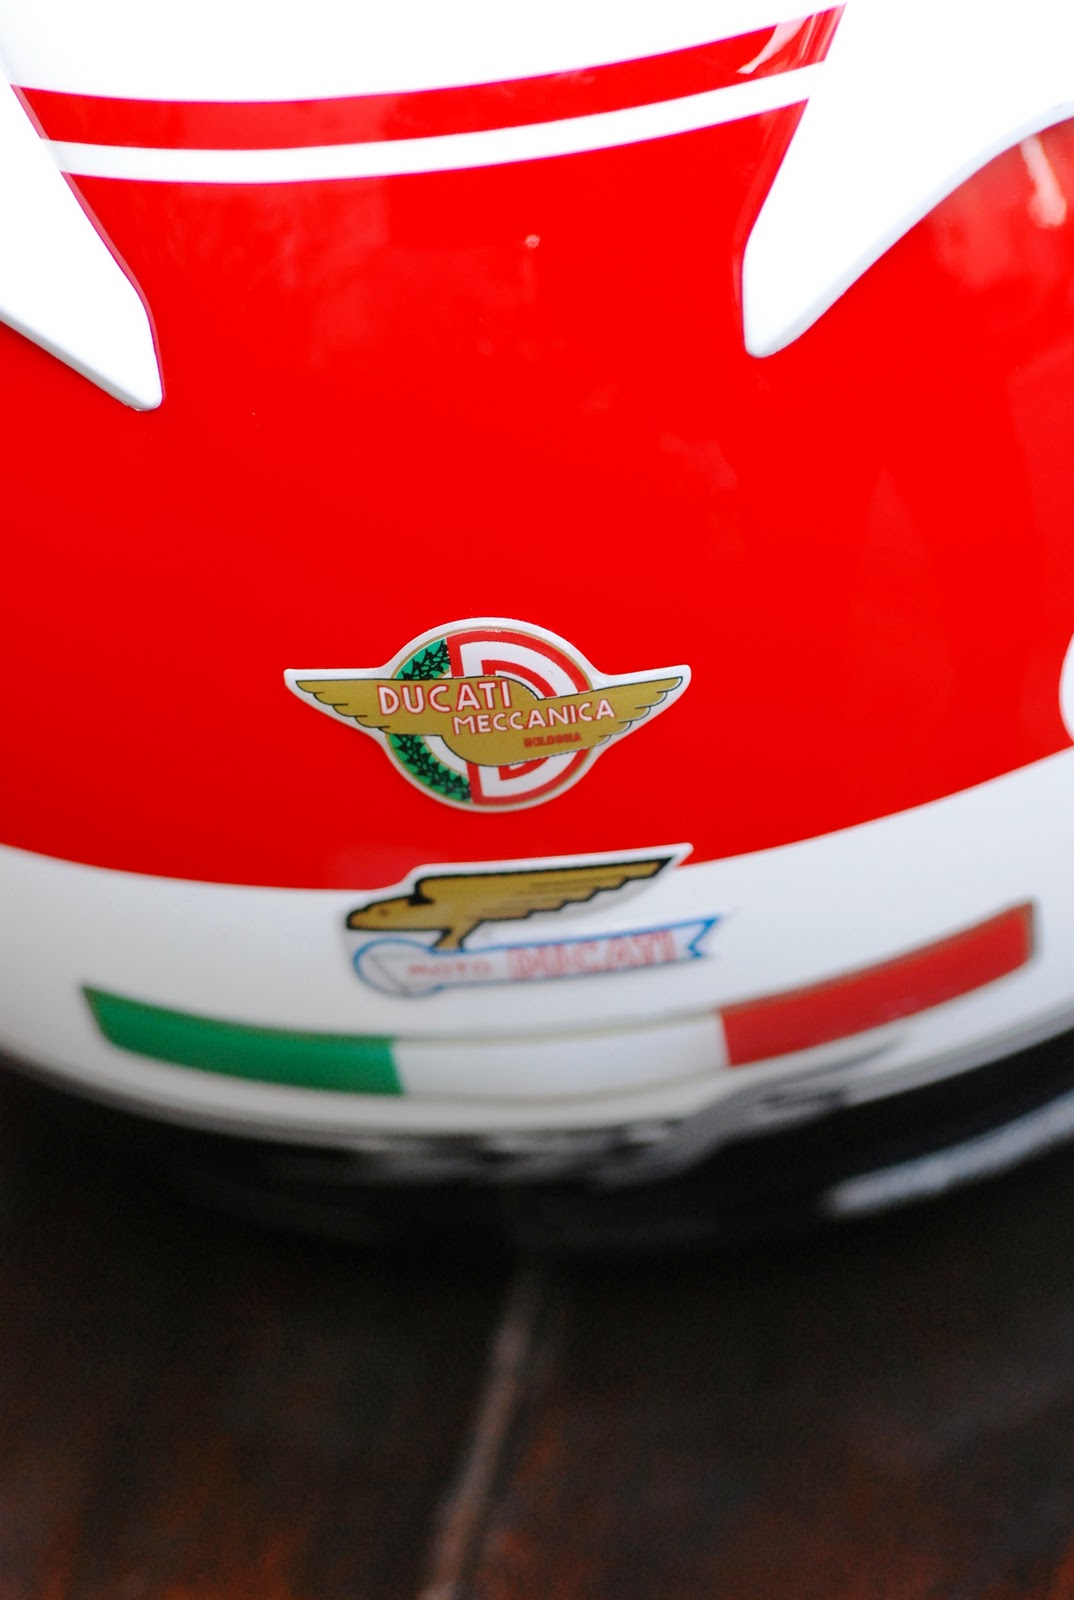
momoさんは、この日、Ducaヘルメット。 momo Designを購入された
そうなのですが、風が良く入るそうで。。。春までお預けなのかな? (^_^;

食後、まったりしているとSatoshiが黄色い足で漕ぐタイプの
彼曰く、”フェラーリ”で登場。
ガレージに移動し、珈琲を御馳走になりながら、しばし歓談。

っで、3連休最終日。道路が混み出す前に。。。ということで、帰路に。。。
日没直後、富士山のシルエットがキレイでした。手前は江ノ島。


伊豆半島のシルエットも。。。


っということで、この日も逗葉新道の料金所手前で、
momoさんとお別れ。。。なんとか、無事帰宅。。。
早く暖かくならないかなぁ。。。

っと祈りつつ。。。今夜も雪になりましたね。。。
暖かくなったらどこに行こう。。。(^_^)

Jun

2011年2月12日土曜日

20110210 Installation of Thermo-Valve

最近、海外からの閲覧があるようですので。。。
恥ずかしながら英文で書いてみますねぇ。。。
おかしな文面、スペルミスは御容赦下さいまし。m(_ _)m


My new item arrived at 8th Feb. 2011.
I went to directly receive it at Post Office on 10th Feb.   :-)


And after that, I went to Kamakura... Satoshi's Special Garage.

Satoshi's Blog : http://satoshigt3.blogspot.com/


Ambient Temp. was 12.0deg.C at 2PM.   Not so cold.


So, new item is a "Cable Guard" for Hypermotard.

Materials are Aluminum & Dry Carbon.
Manufacturer is "Carbon World" Germany.

http://www.carbonworld.de/shop/


Two oil line carbon supports were attached.
But, this time, it was not used.


Back side


It's very good quarity... I think. (^_^)


Above and below pics are original oil line...Fittings were made by Steel.
Already, rusty...

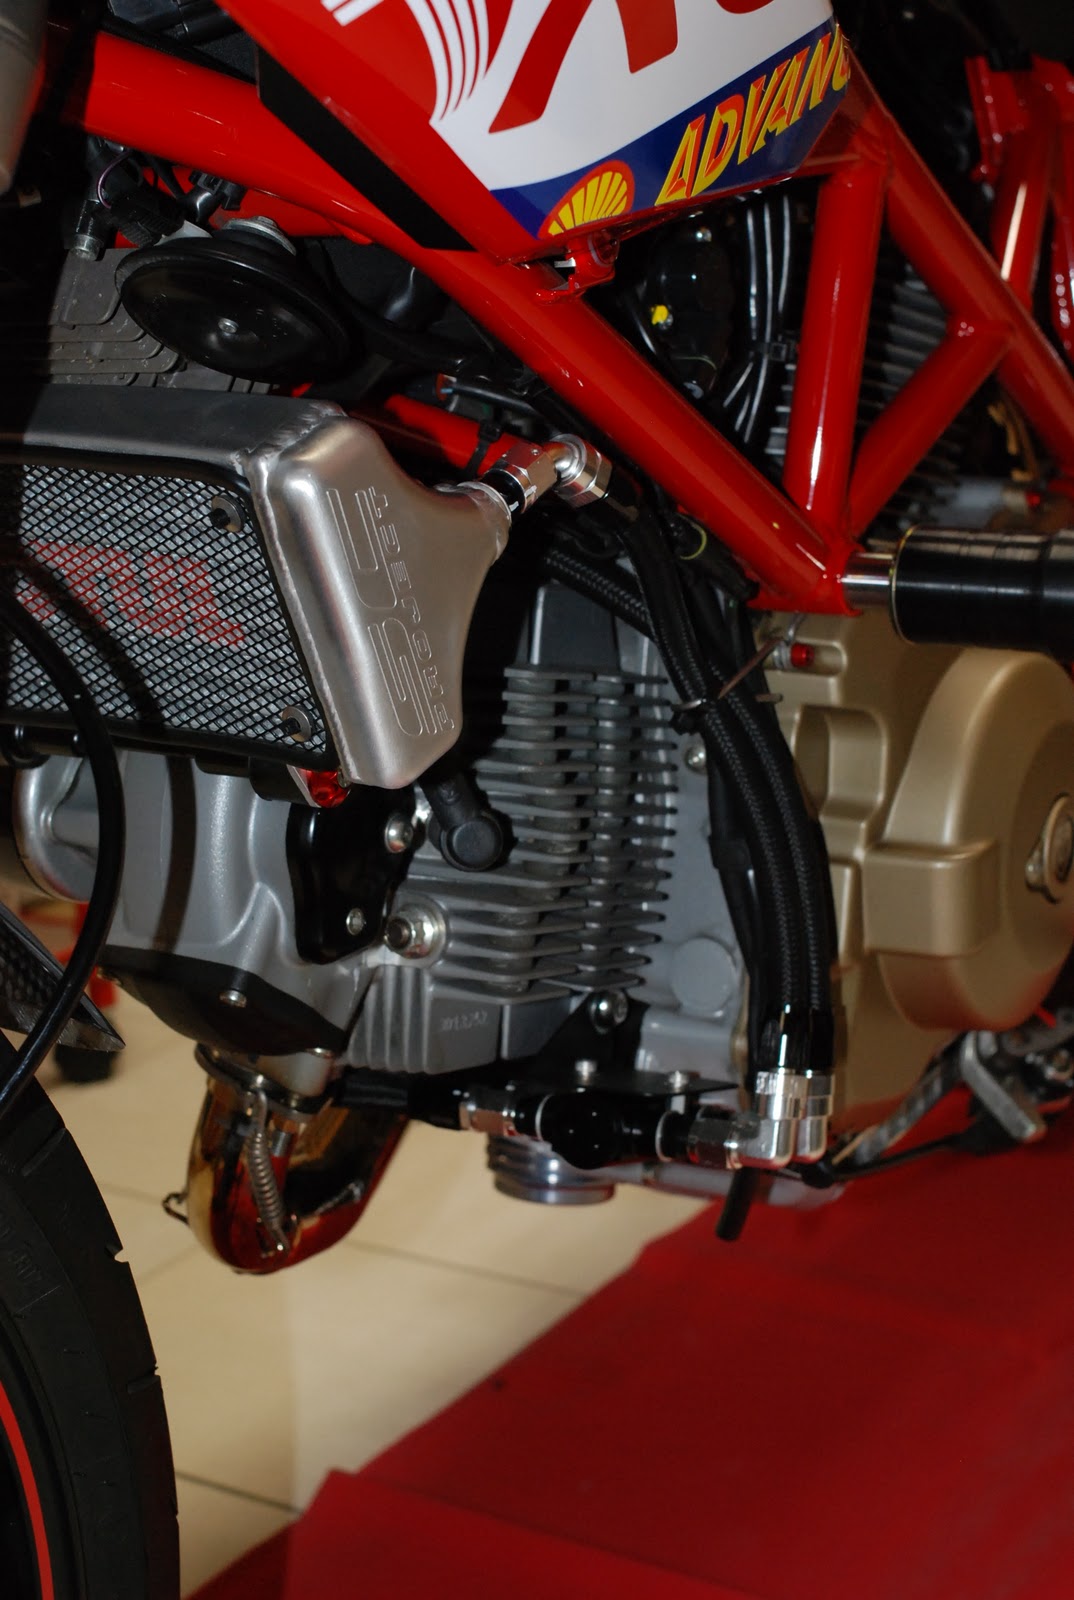
Oil Cooler is made by "SC Project" Italy.

http://www.sc-project.com/

Heat exchange effciency is high... very nice at summer season...
Of course, at race situation, also.
But, too cool at winter season... (^_^;


Face of my Hyper... :-)


This XEROX Machine is Satoshi's.   Model 2009


Very Cool !!! & Clean... Always... (-_-;


His Thermo-Valve was installed horizontally.
It's proto type of installation by him.

And Thermo-Valve Support was fixed on front cylinder.
So, there is a hole at lower the front bank cylinder.
But, there is no hole at 2007-2008 model...
My Hyper is model 2008.
Satoshi-san and I thought it's NG idea
 that make a hole on the cylinder by ourselves.


I knew this cable guard was installed at side of the front bank cylinder.
I thought I would be able to apply it to mount base of thermo-valve.
It was main reason that I purchased this cable guarde.


It was necessory that scrape a part of carbon part for installation.
Oil line supports have been removed.


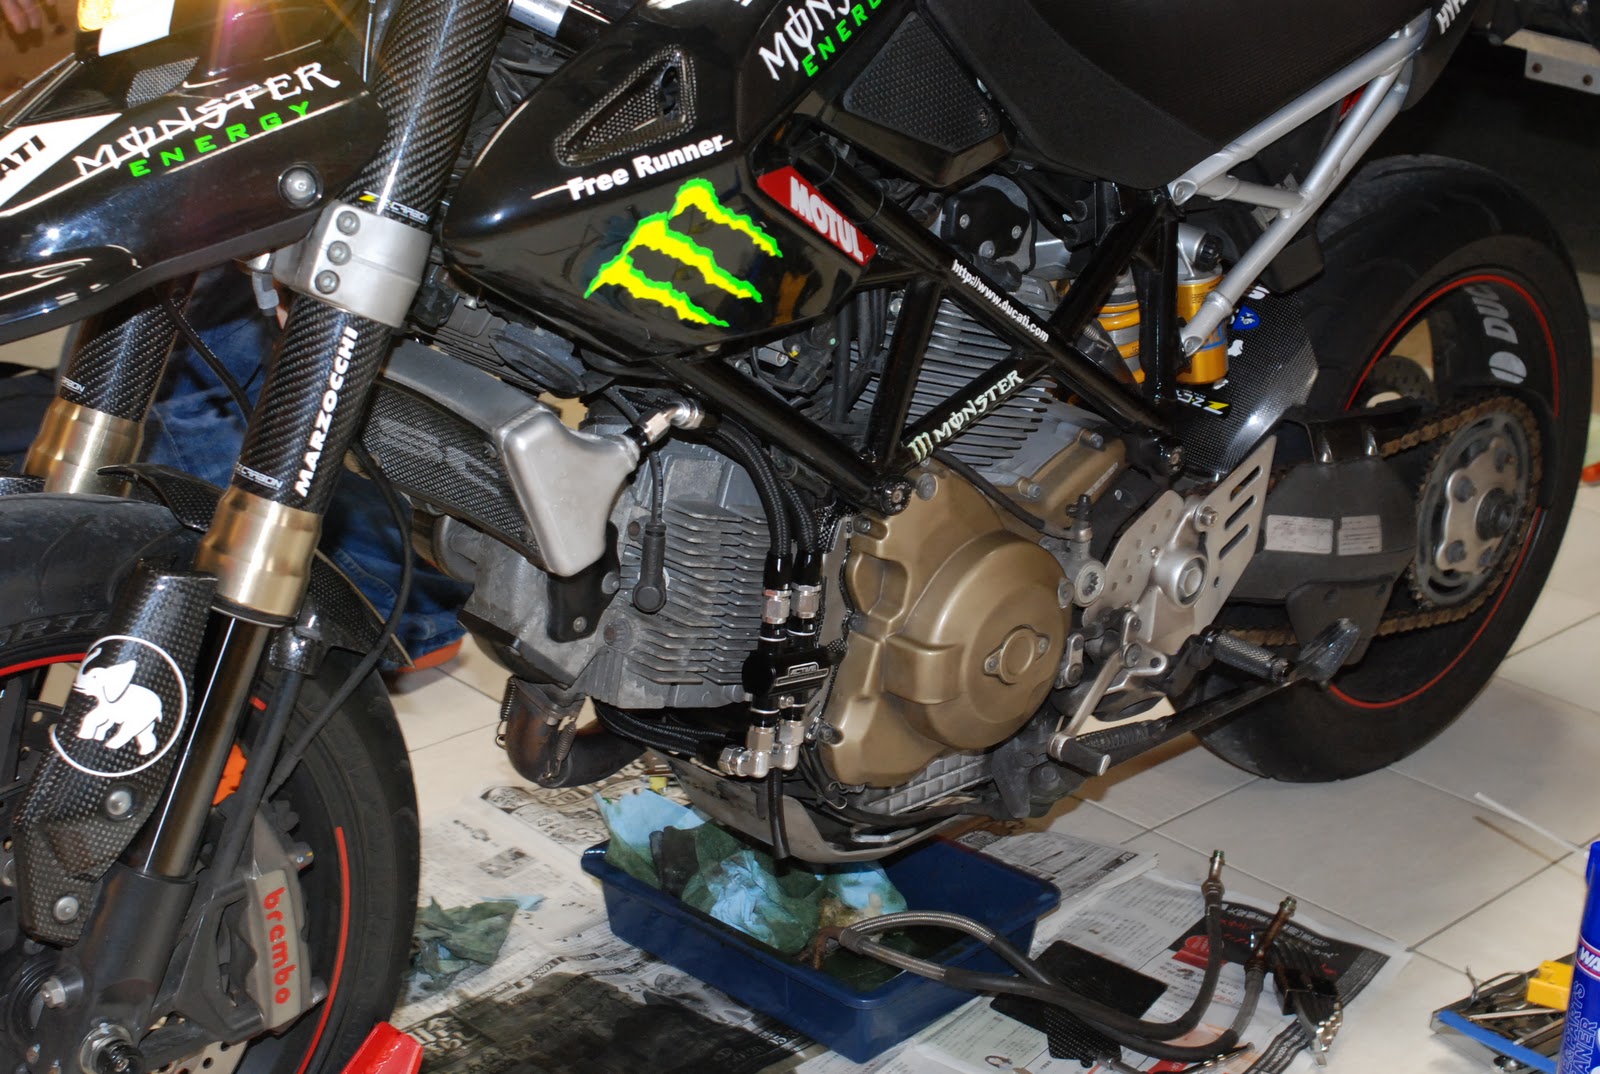
Start of oil line replacement...

First, removed all of original oil lines


Location plan of Thermo-Valve...


So, reason of cable guarde installation was...
 attach the support and fix the thermo-valve.


Only small support was needed for fixing of thermo-valve.
Satoshi-san made a support by Aluminum plate, soon.


Install Thermo-valve...temporarily.
It should be kept distance between cylinder and thermo-valve.
That distance is about 50mm(?) now.


Temporarily installation... Thermo-valve was upside-down... (^_^;
Just temporarily assembling!!


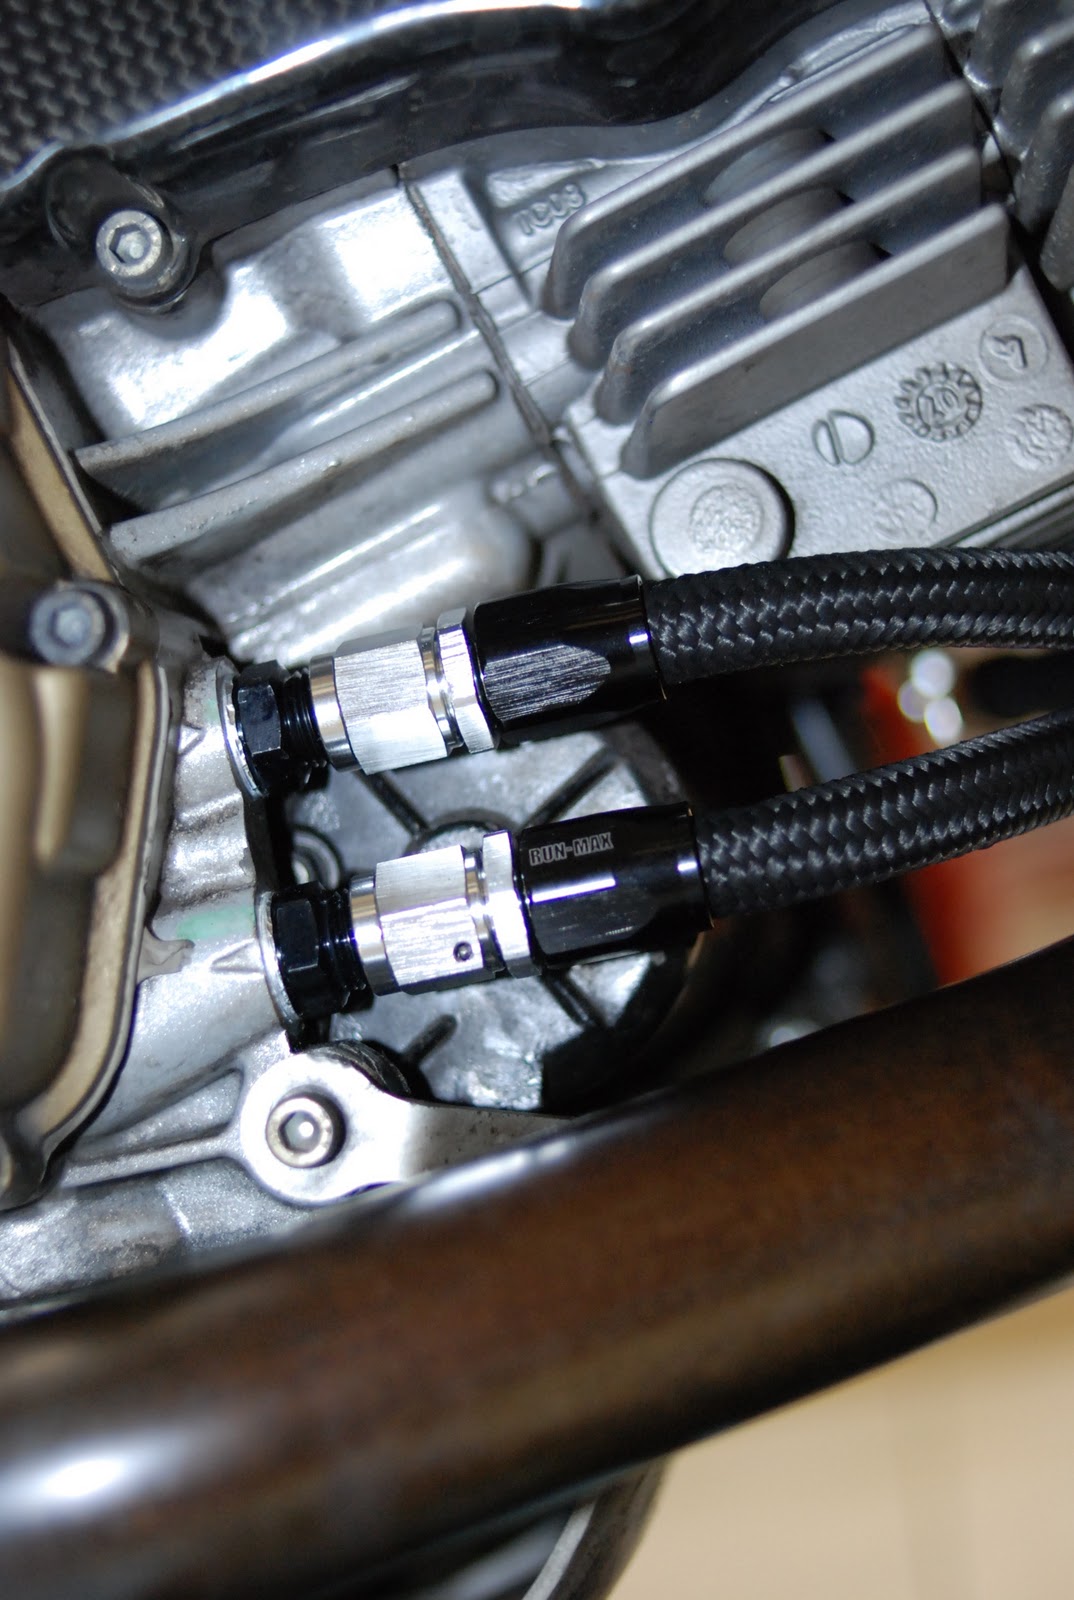
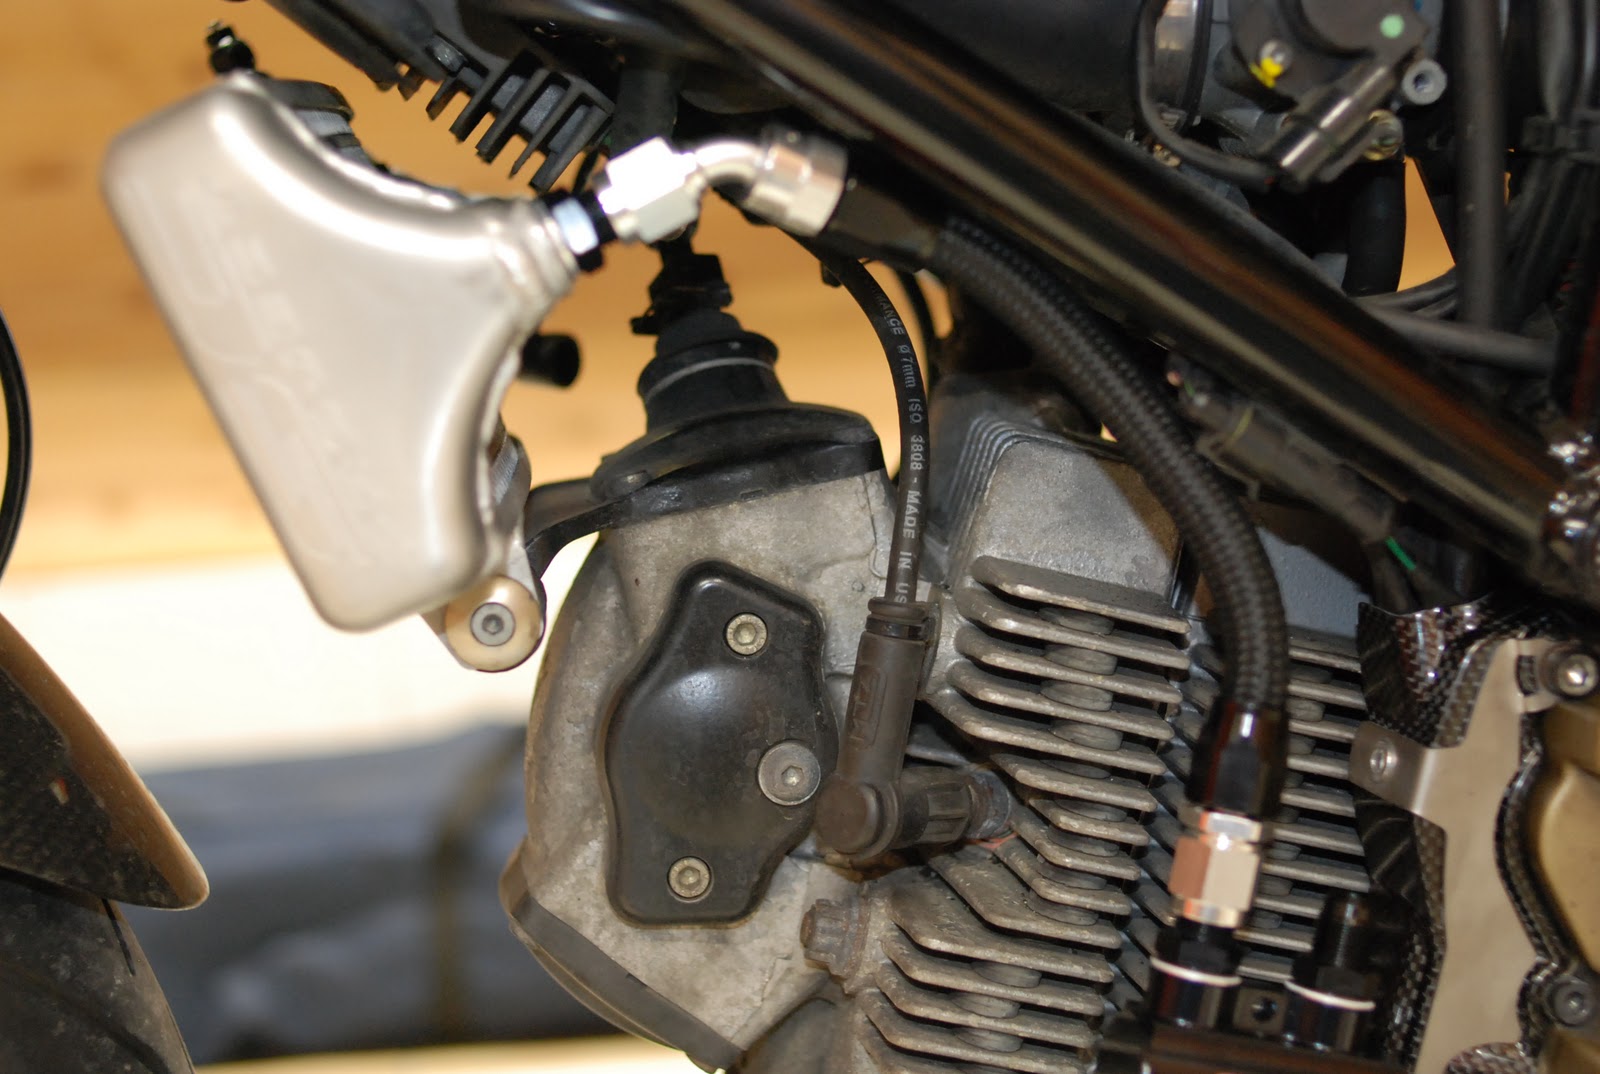
New oil line was connected at Oil Cooler.
This side is outlet of oil cooler.


Crank case part... IN/OUT of oil line
Black & Silver Fittings are very COOL!!! I like... (^_^)


Fitting for Oil Cooler IN/OUT parts.
Angle is 45deg.
All of these fittings are made by "KINOKUNI" Japan.

http://www.kinokuni-e.com/


Thermo-Valve is made by "Active" Japan.

http://www.acv.co.jp/


Silver one is another product.
It's available that Temp. & Press. sensors are installed
 on the thermo-valve body, directly.


New oil line was connected from thermo-valve to oil-cooler .


All of flexible tube should be fitted and cut for each part.
Because, there is a little difference of dimension at each machine.


All of oil lines were installed... Finished!!


How about looks? (^_^)


TEST...
Original temp. sensor is installed on the oil cooler outlet.
Thus, it will not be able to meausure oil temp. when oil temp. is lower than 70deg.C.
Because, thermo-valve begin to open at about 70deg.C.
And then, full open at about 85deg.C...
Therefore, thermo-sensor should be re-located...
 as DS Engine of Sport Classic series.


I want to go to TEST RUN, soon!! :-)

Pics by Nikon D80 + Nikkor 35mm/f2.0

Jun